
In this tutorial I will demonstrate how to keep your docker container images nice and slim with the use of multistage builds for a hugo documentation project.
Hugo is a static content generator so essentially that means that it will generate your markdown files into html. Therefore we don’t need to include all the content from our project repository as we only need the static content (html, css, javascript) to reside on our final container image.
What are we doing today
We will use the DOKS Modern Documentation theme for Hugo as our project example, where we will build and run our documentation website on a docker container, but more importantly make use of multistage builds to optimize the size of our container image.
Our Build Strategy
Since hugo is a static content generator, we will use a node container image as our base. We will then build and generate the content using npm run build which will generate the static content to /src/public in our build stage.
Since we then have static content, we can utilize a second stage using a nginx container image with the purpose of a web server to host our static content. We will copy the static content from our build stage into our second stage and place it under our defined path in our nginx config.
This way we only include the required content on our final container image.
Building our Container Image
First clone the docs github repository and change to the directory:
1 2 | |
Now create a Dockerfile in the root path with the following content:
1 2 3 4 5 6 7 8 9 10 11 | |
As we can see we are copying two nginx config files to our final image, which we will need to create.
Create the nginx config directory:
1
| |
The content for our main nginx config nginx/config/nginx.conf:
1 2 3 4 5 6 7 8 9 10 11 12 13 14 15 16 17 18 19 20 21 22 23 24 25 26 27 28 29 30 31 32 33 34 35 36 37 38 39 40 41 42 43 | |
And in our main nginx config we are including a virtual host config app.conf, which we will create locally, and the content of nginx/config/app.conf:
1 2 3 4 5 6 7 8 9 10 11 12 13 14 15 16 17 18 | |
Now that we have our docker config in place, we can build our container image:
1
| |
Then we can review the size of our container image, which is only 27.4MB in size, pretty neat right.
1 2 3 4 | |
Running our Container
Now that we’ve built our container image, we can run our documentation site, by specifying our host port on the left to map to our container port on the right in 80:80:
1
| |
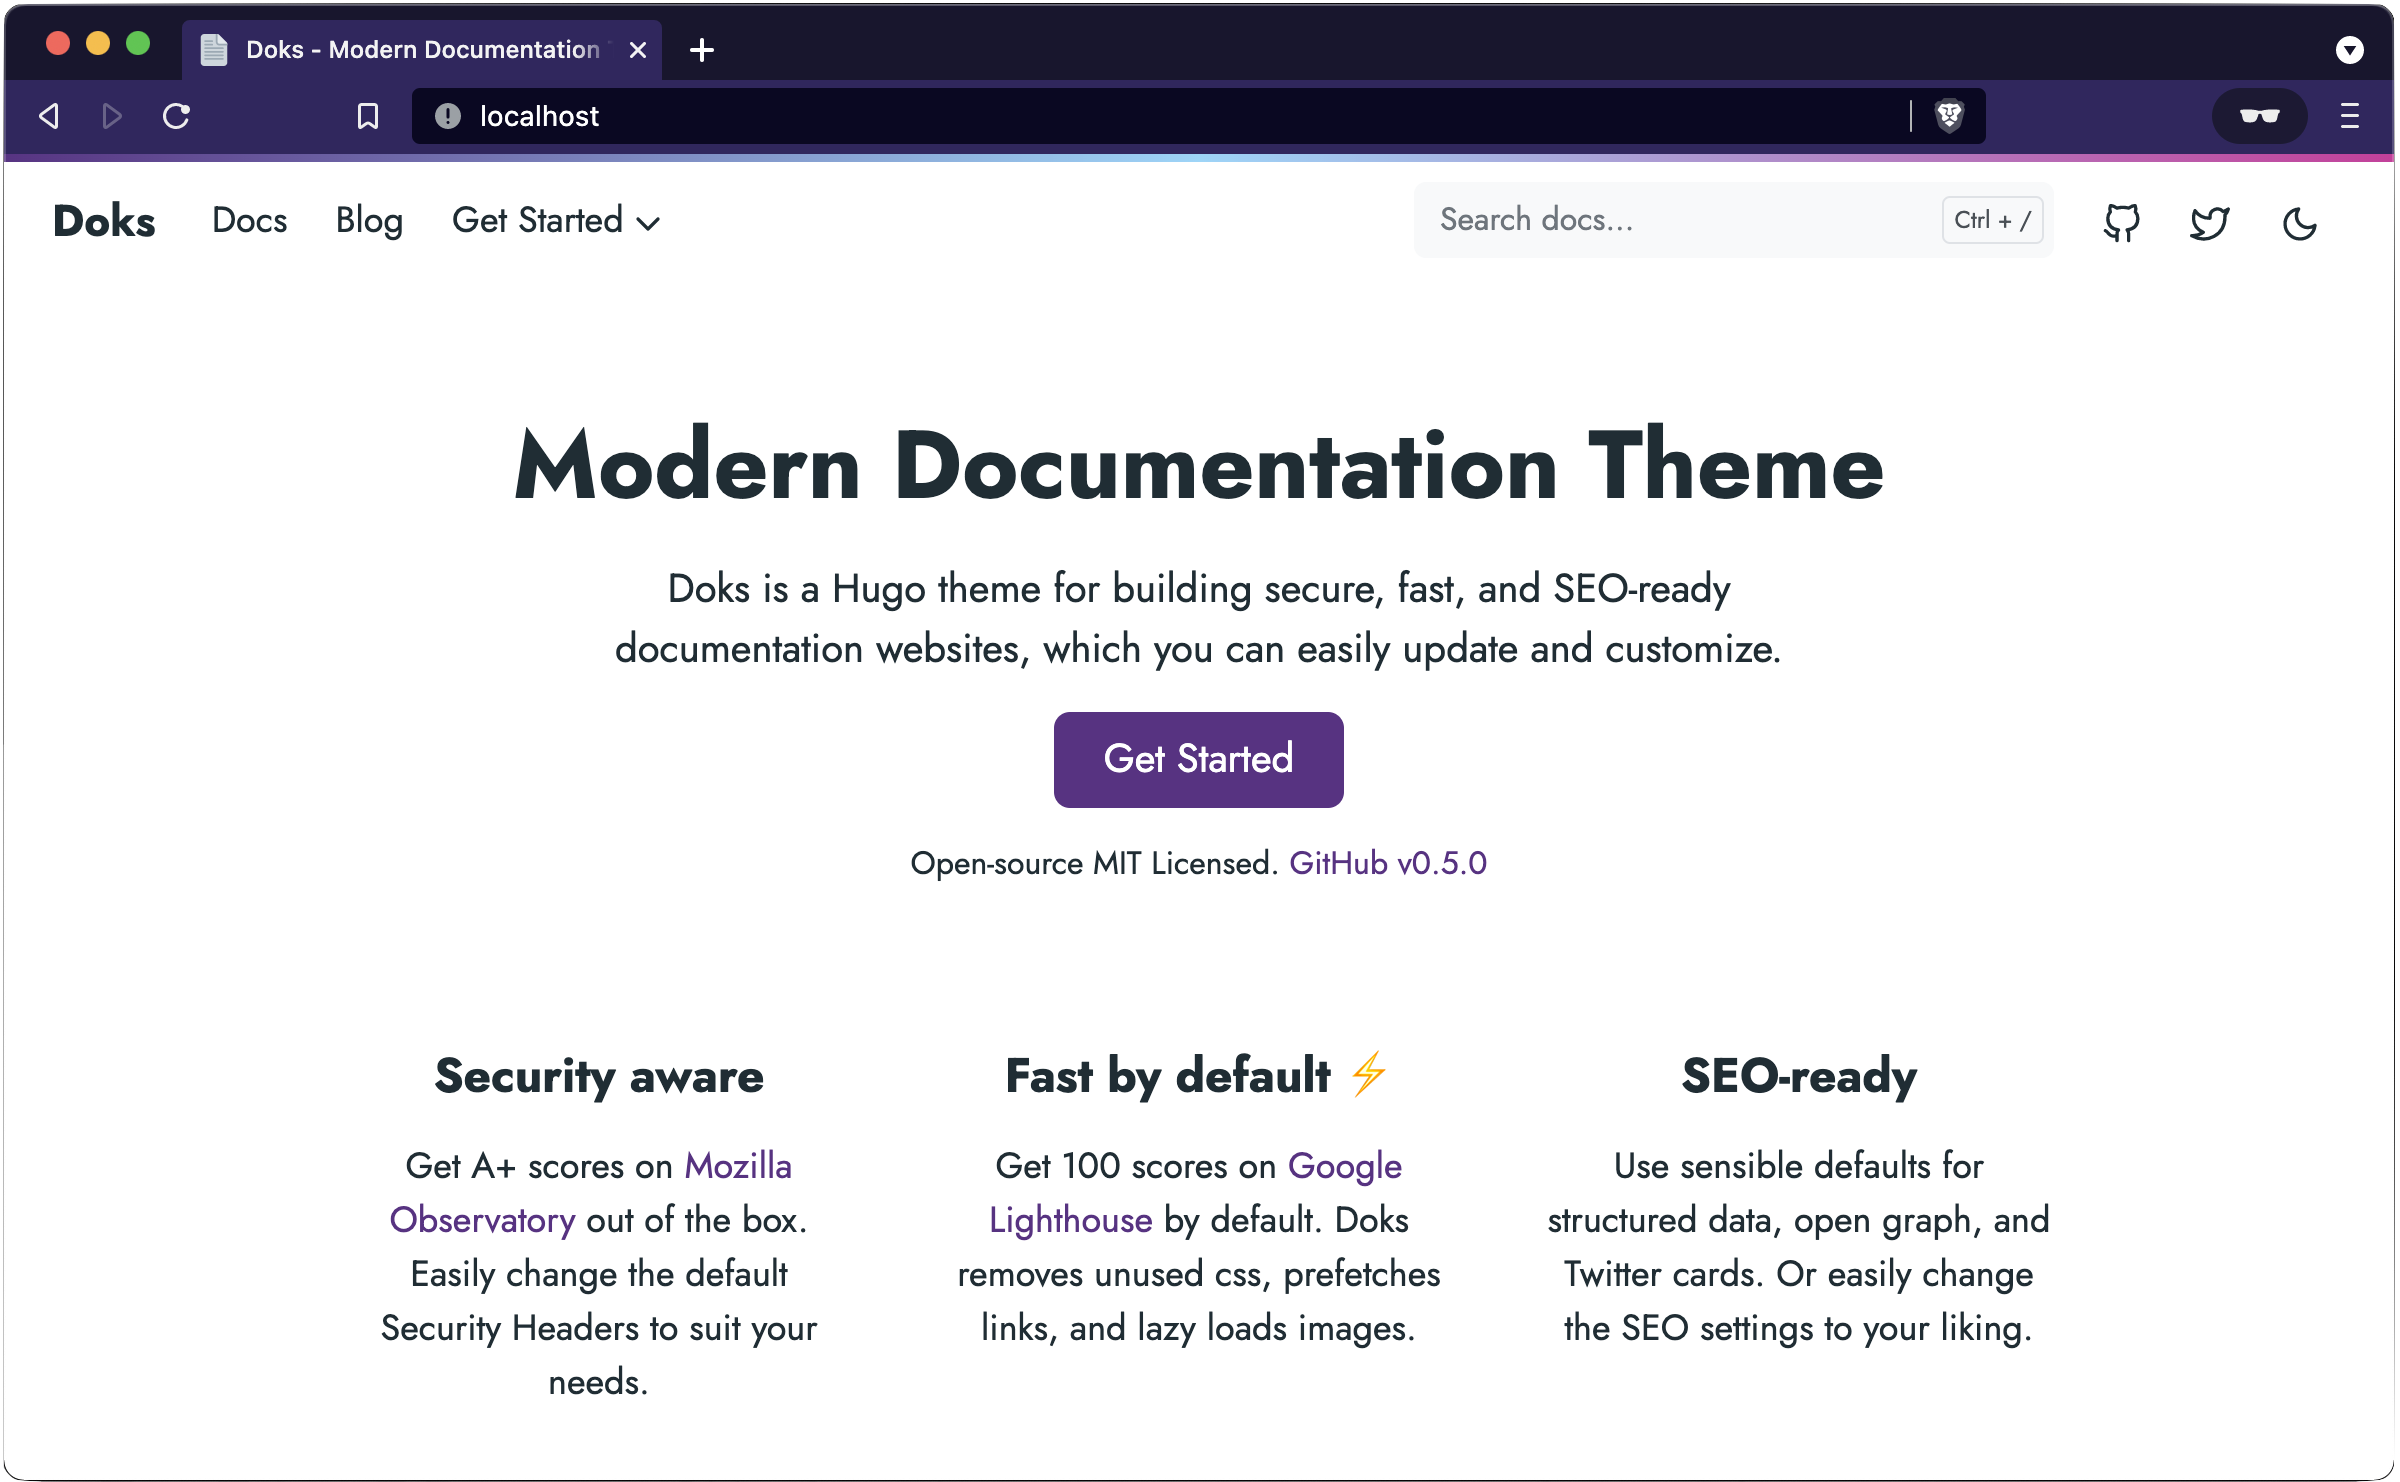
When you don’t have port 80 already listening prior to running the previous command, when you head to http://localhost (if you are running this locally), you should see our documentation site up and running:
Thank You
I have published this container image to ruanbekker/hashnode-docs-blogpost.
Thanks for reading, feel free to check out my website, feel free to subscribe to my newsletter or follow me at @ruanbekker on Twitter.