This post will show how to setup gitea and drone on a docker host with docker-compose. The drone example in this tutorial will be very basic, but in future posts I will focus more on pipeline examples using drone.
As this post I will use to link back for those who needs to setup the stack first.
Deploy Gitea and Drone
Get the docker-compose.yml:
1
| |
Verify the environment variables and adjust the defaults if you want to change something, if you want your git clone ssh url to point to a dns name as well as the url for gitea, then change the following to your dns:
1 2 3 4 5 | |
then deploy:
1
| |
Access your Stack
The default port for Gitea in this setup is port 3000:

Initial configuration will be pre-populated from our environment variables:

From the additional settings section, create your admin user (this user is referenced in our docker-compose as well)

Because I am using gitea as my hostname, you will be redirected to http://gitea:3000/user/login, if you don’t have a host entry setup for that it will fail, but you can just replace your servers ip in the request url and it will take you to the login screen, and after logging on, you should see this screen:

Access drone on port 80, you will be directed to the login screen:

Use the same credentials that you have used to sign up with gitea, and after logging on, you should see this:

If ever your login does not work, just delete the drone access token on gitea (gitea:3000/user/settings/applications)
Create a Git Repository
On gitea, create a new git repository:

You should now see your git repository:

Create a new file .drone.yml with the following content:
1 2 3 4 5 6 7 8 9 | |
It should look like this:

Configure Drone
Commit the file in your git repository and head over to drone (which should be available on port 80) and select “Sync”, after a couple of seconds you should see the git repository:

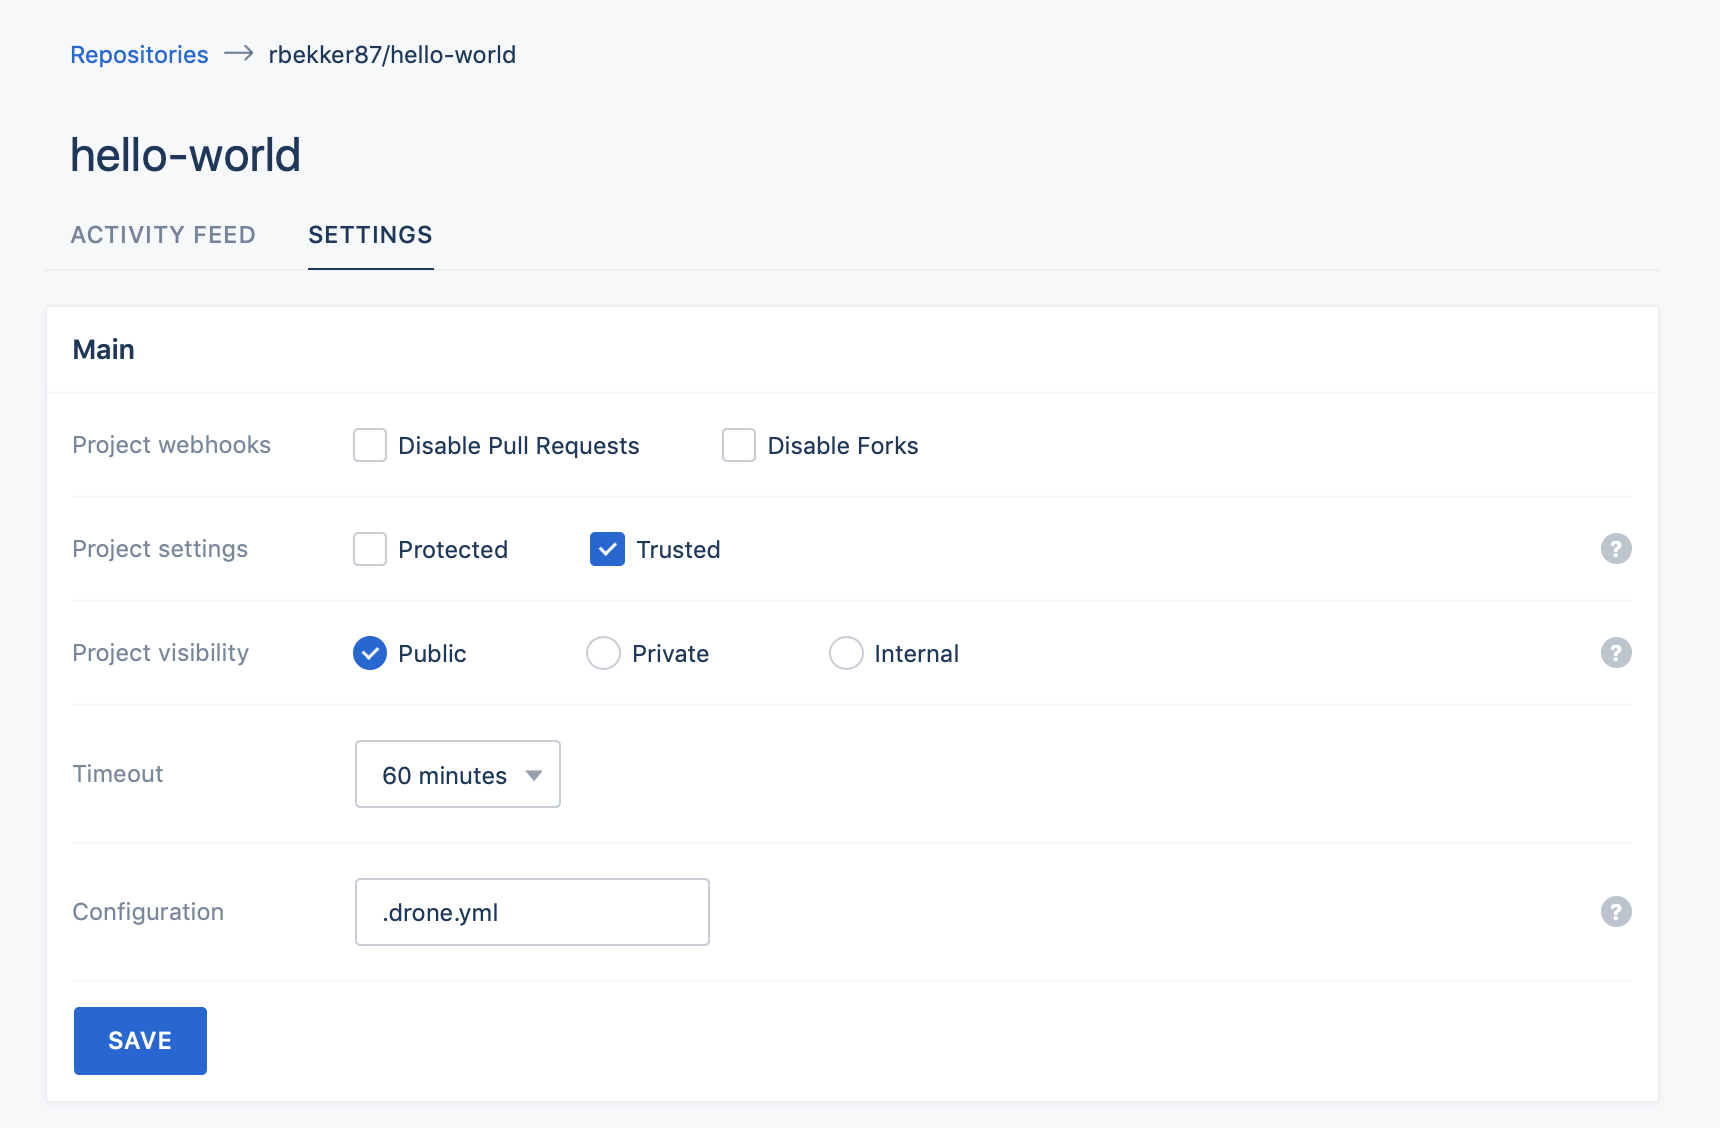
Select “Activate” and “Activate Repository”, on the next screen select “Trusted”, verify that the configuration file name is the same as which we created, then select save:
Trigger the Build
If you click on “Activity Feed” you should see a empty feed. Head back to git and commit a dummy file to trigger the build to start. I will create a file name trigger with the value as 1 for my dummy file.
After committing the file, you will see on drone that the build started:

When we select the build, you can see we have a clone step and the step that we defined to echo “hello-world”:

Thank You
This was a basic introduction for gitea and drone, but I will use this post in conjunction with more gitea examples in the future.