
So your application need to store secrets and you are looking for a home for them. In this tutorial we will see how we can use Python, S3 and KMS to build our own solution for managing secrets.
There is SSM and Secrets Manager that probably does a better job, but my mind got curious :D
High Level Goal
From a High-Level we want to store secrets encrypted on S3 with KMS, namespaced with team/application/environment/value in json format so that our application receives the json dictionary of configured key/value pairs.
We can leverage IAM to delegate permissions on the namespacing that we decide on, for my example the namespace will look like this on S3:
1
| |
We will apply IAM permissions for our user to only Put and Get on secrets/engineering*. So with this idea we can apply IAM permissions on groups for different departments, or even let users manage their own secrets such as:
1
| |
After the object has been downloaded from S3 and decrypted using KMS, the value of the object will look like this:
1
| |
Requirements
We will create the following resources on AWS:
- KMS Key
- S3 Bucket
- IAM User
- IAM Policy
- Python Dependencies: Boto3
Provision AWS Resources

First we will create our S3 Bucket, head over to Amazon S3 create a new s3 bucket, make sure that the bucket is NOT public, by using the default configuration, you should be good.
Once your S3 Bucket is provisioned, head over to Amazon IAM and create a IAM User, enable programmatic access, and keep your access key and secret key safe. For now we will not apply any permissions as we will come back to this step.
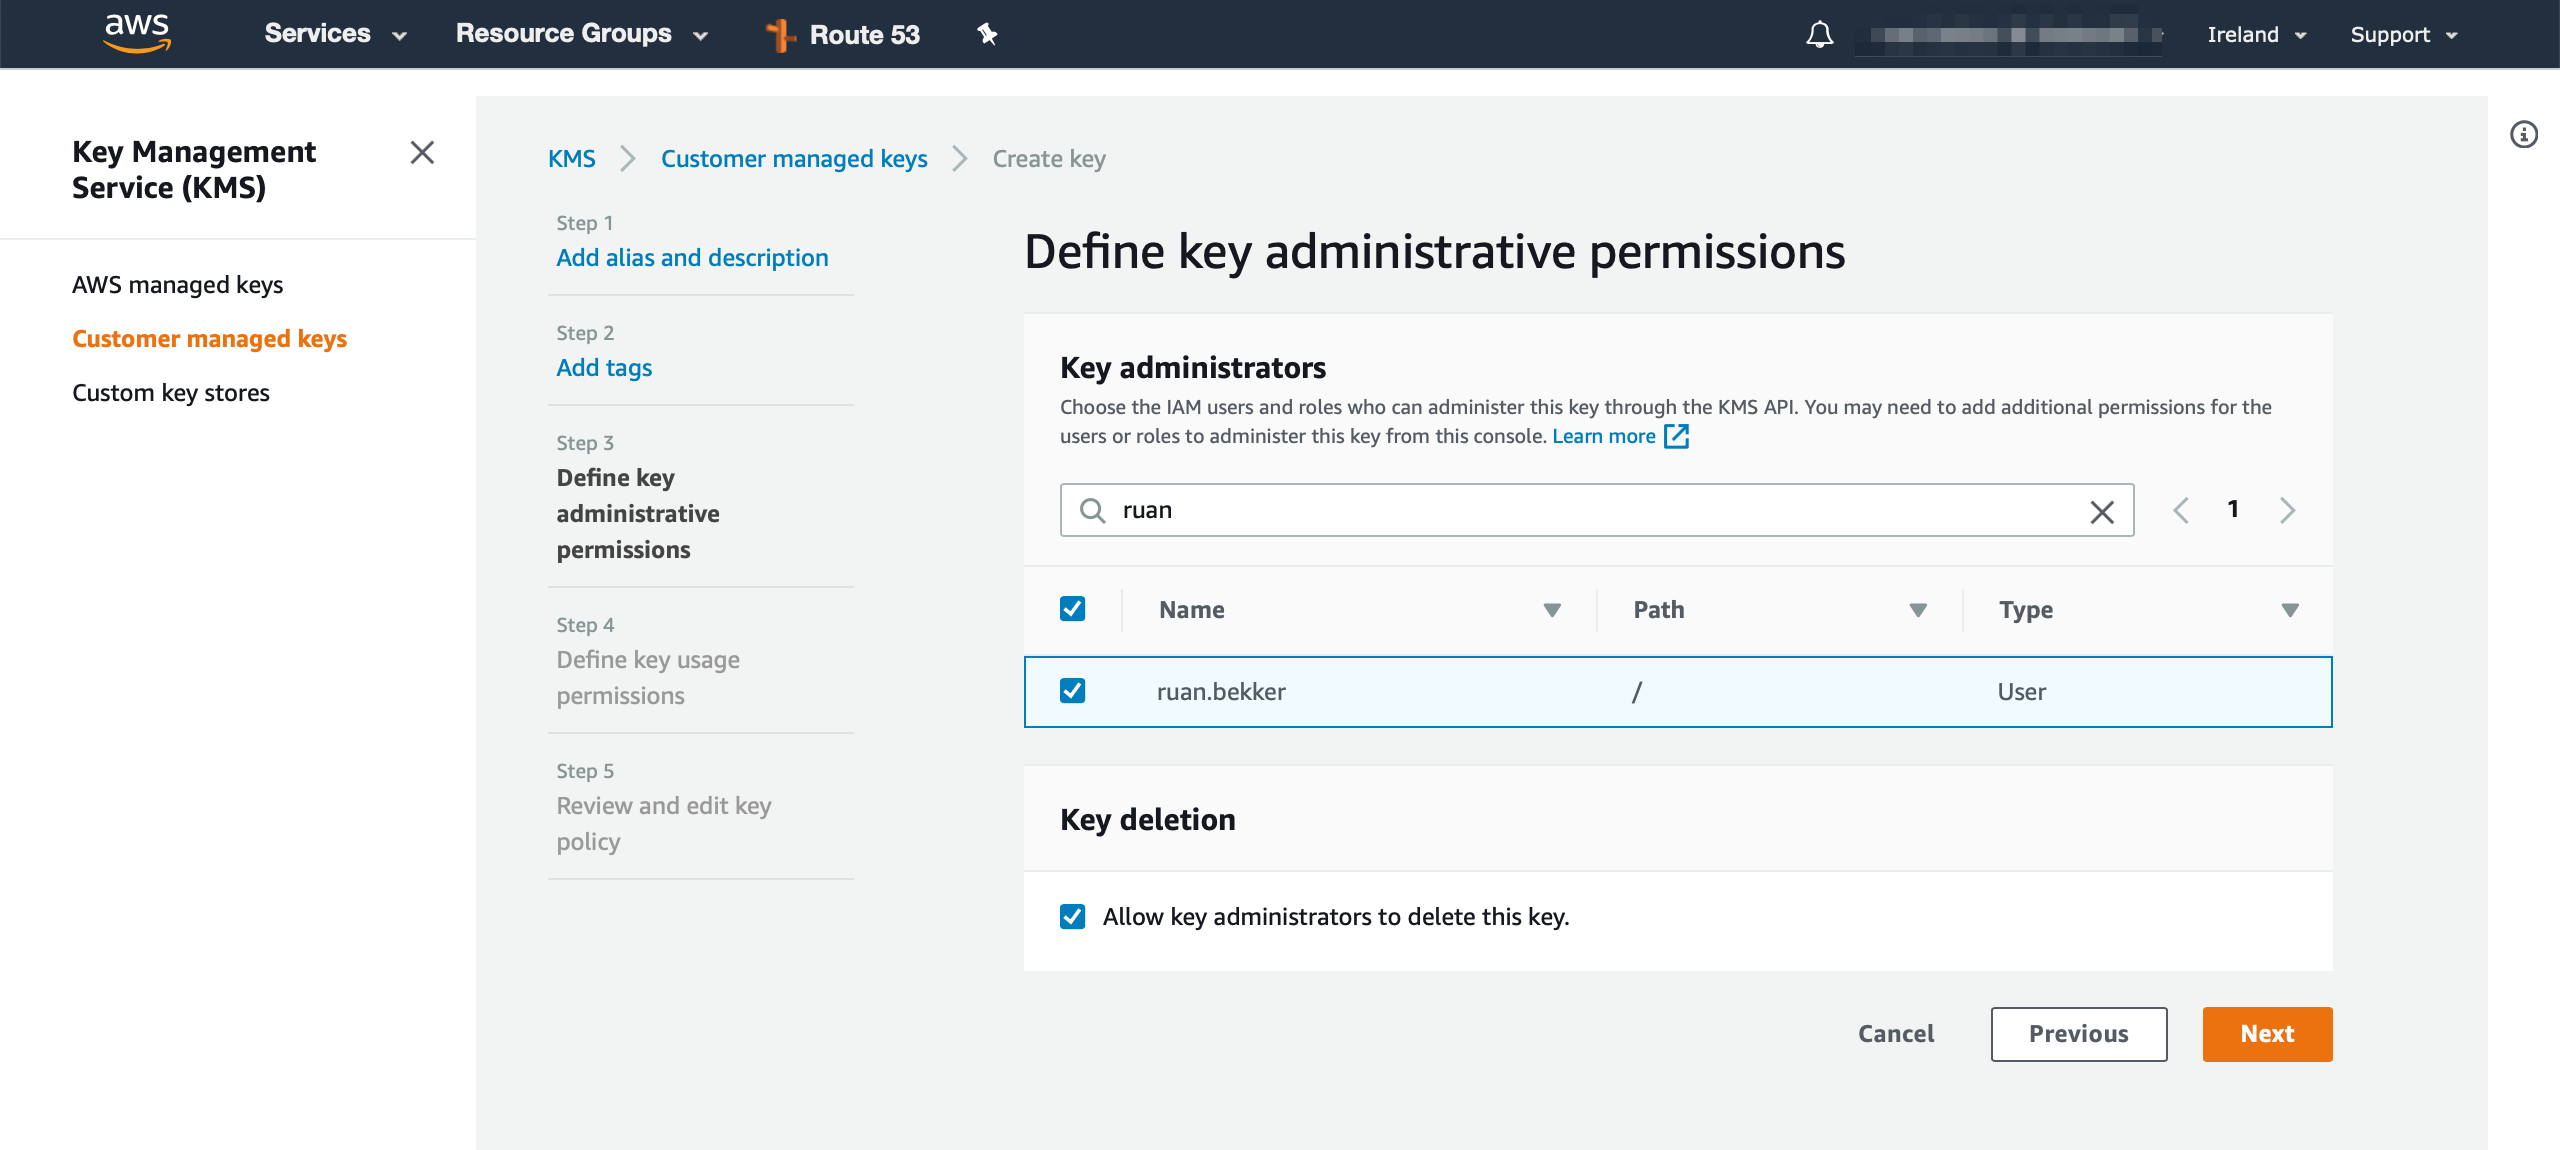
Head over to Amazon KMS and create a KMS Key, we will define the key administrator, which will be my user (ruan.bekker in this case) with more privileged permissions:
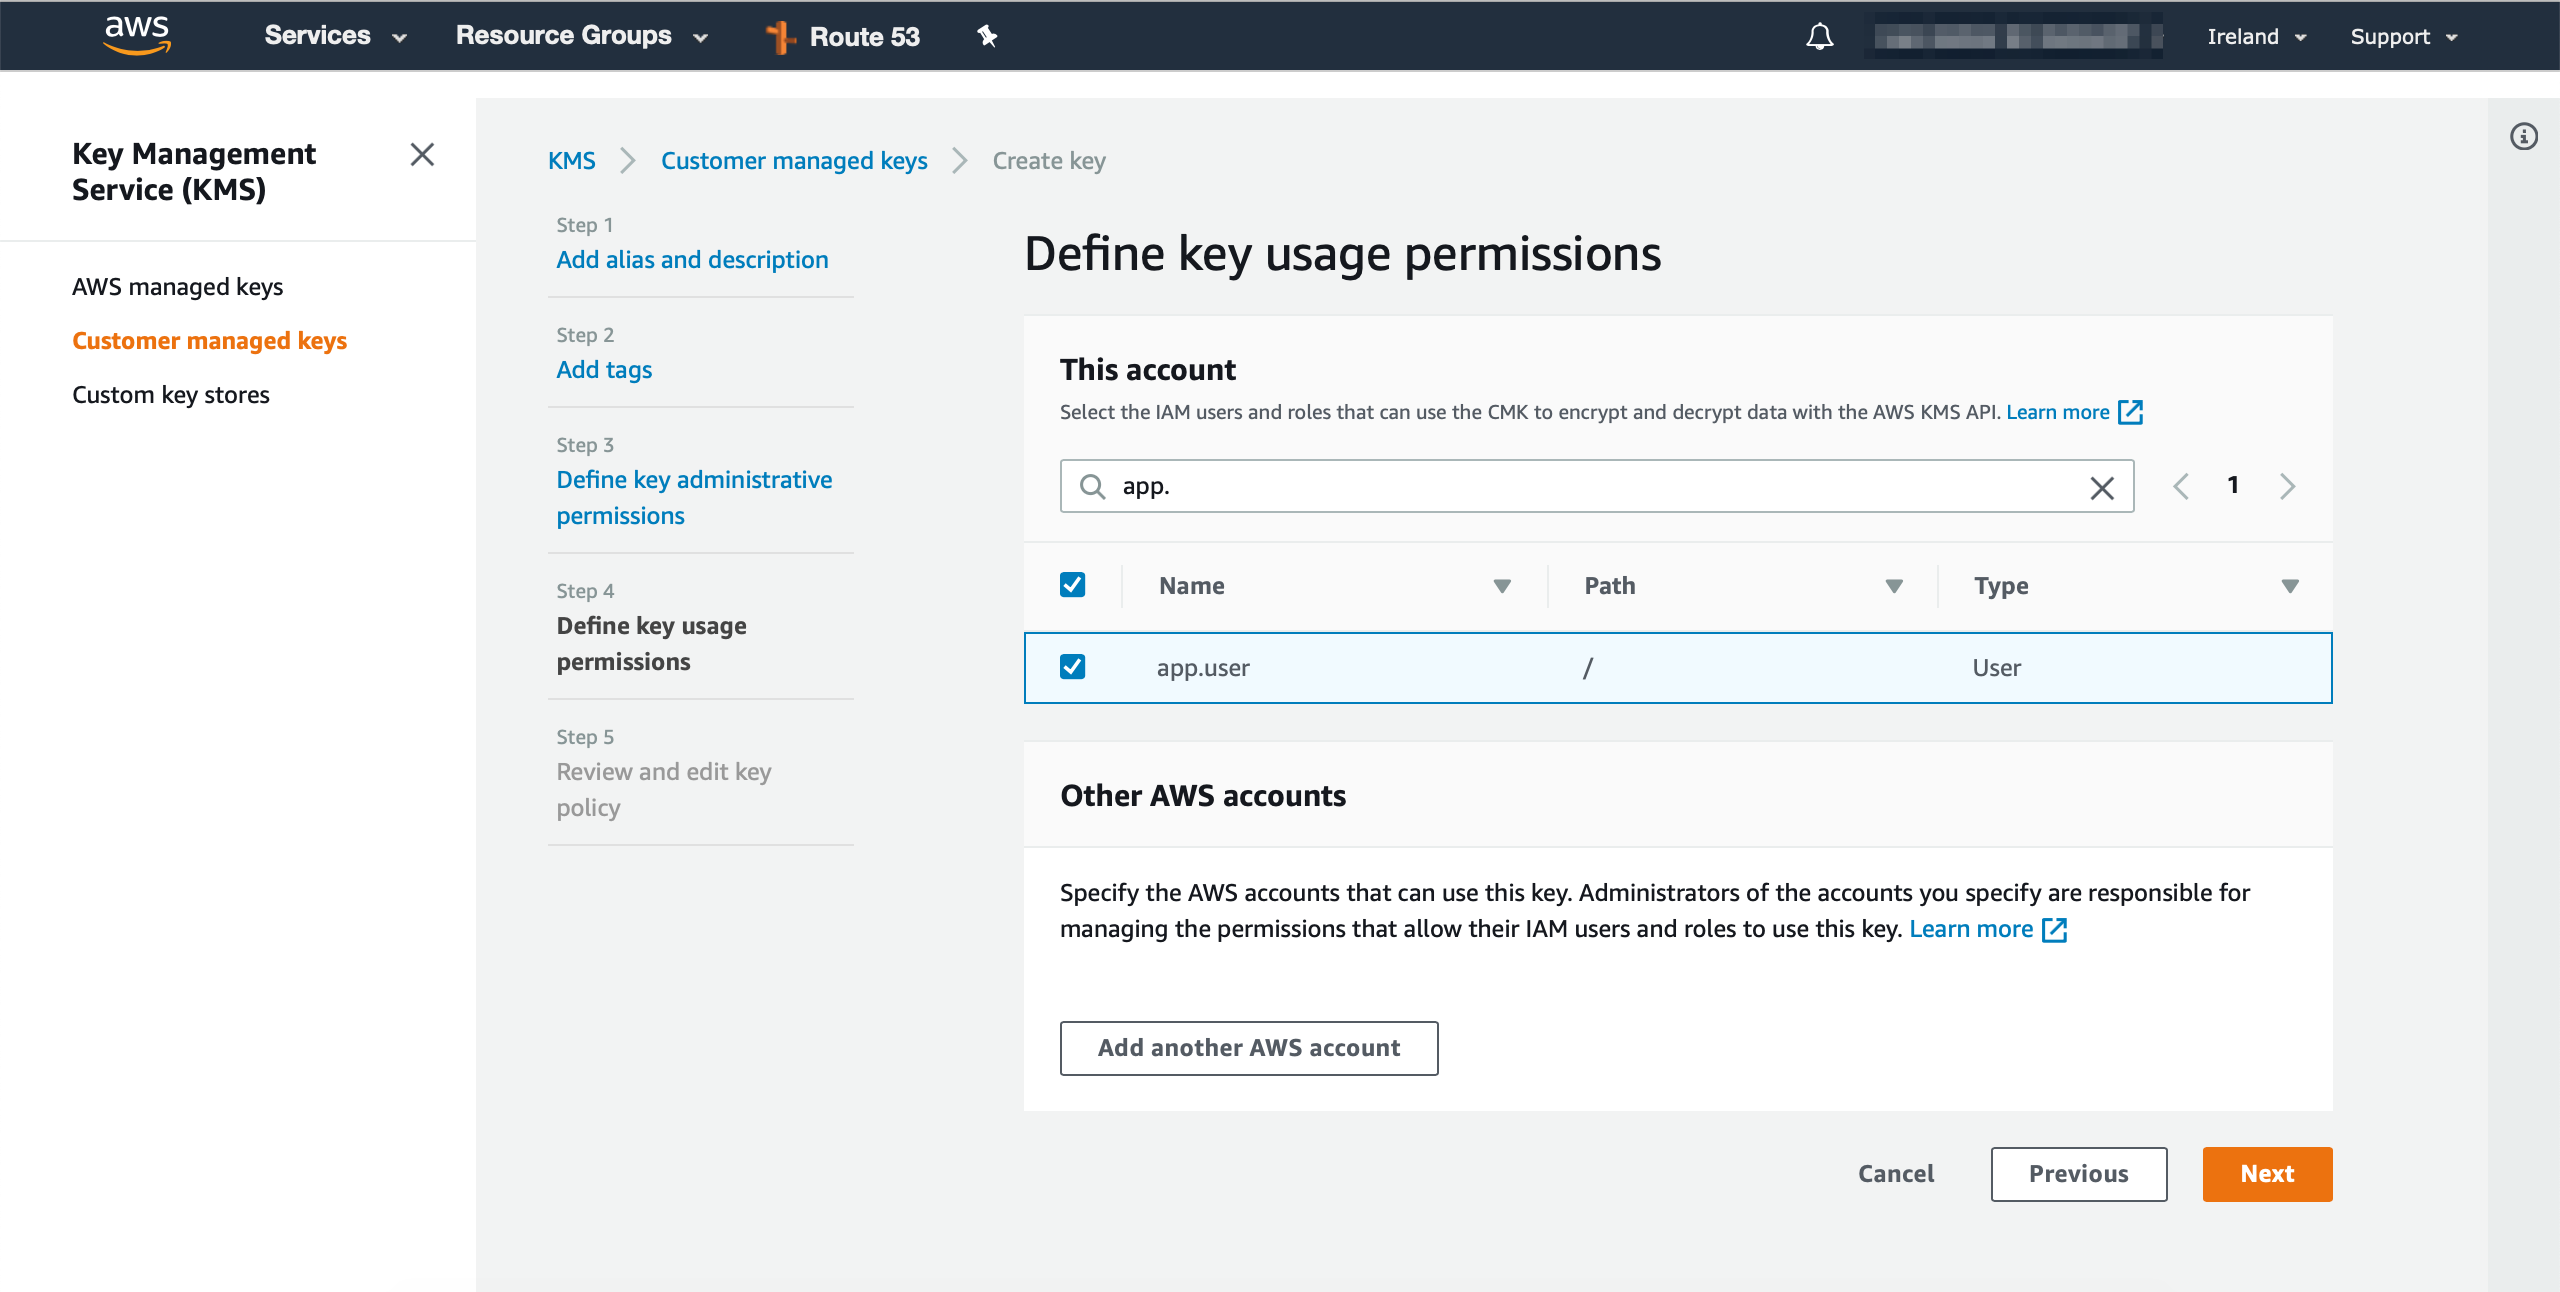
and then we will define the key usage permissions (app.user in this case), which will be the user that we provisioned from the previous step, this will be the user that will encrypt and decrypt the data:
Next, review the policy generated from the previous selected sections:

Once you select finish, you will be returned to the section where your KMS Key information will be displayed, keep note of your KMS Key Alias, as we will need it later:

Create a IAM Policy for our App User
Next we will create the IAM Policy for the user that will encrypt/decrypt and store data in S3
1 2 3 4 5 6 7 8 9 10 11 12 13 14 15 16 17 18 19 20 21 22 23 | |
After the policy has been saved, associate the policy to the IAM User
Encrypt and Put to S3
Now we will use Python to define the data that we want to store in S3, we will then encrypt the data with KMS, use base64 to encode the ciphertext and push the encrypted value to S3, with Server Side Encryption enabled, which we will also use our KMS key.
Install boto3 in Python:
1
| |
Enter the Python REPL and import the required packages, we will also save the access key and secret key as variables so that we can use it with boto3. You can also save it to the credential provider and utilise the profile name:
1 2 3 4 5 | |
Next define the data that we want to encrypt and store in S3:
1 2 3 4 5 | |
Next we will use KMS to encrypt the data and use base64 to encode the ciphertext:
1 2 3 4 5 6 7 8 9 10 11 12 | |
Next we will use S3 to push the encrypted data onto S3 in our name spaced key: secrets/engineering/app1/production/appconfig.json
1 2 3 4 5 6 7 8 9 10 11 12 | |
Now our object is stored in S3, encrypted with KMS and ServerSideEncryption Enabled.
You can try to download the object and decode the base64 encoded file and you will find that its complete garbage as its encrypted.
Next we will use S3 to Get the object and use KMS to decrypt and use base64 to decode after the object has been decrypted:
1 2 3 4 5 6 7 | |
Now let’s decode the result with base64:
1 2 | |
Now we need to deserialize the JSON as it’s in string format:
1 2 | |
Using it in a Application
Let’s say you are using Docker and you want to bootstrap your application configs to your environment that you are retrieving from S3.
We will use a get_secrets.py python script that will read the data into memory, decrypt and write the values in plaintext to disk, then we will use the boot.sh script to read the values into the environment and remove the temp file that was written to disk, then start the application since we have the values stored in our environment.
Our “application” in this example will just be a line of echo to return the values for demonstration.
The get_secrets.py file:
1 2 3 4 5 6 7 8 9 10 11 12 13 14 15 16 17 18 19 20 | |
And our boot.sh script:
1 2 3 4 | |
Running that will produce:
1 2 | |
Thank You
And there we have a simple and effective way of encrypting/decrypting data using S3, KMS and Python at a ridiculously cheap cost, its almost free.
If you liked my content, feel free to checkout my content on ruan.dev or follow me on twitter at @ruanbekker